This post will chronicle the process I went through in taking a fretted guitar and turning it into a fretless guitar. I am also hoping it might generate some nice discussion about fretless guitars. I tried to write this in a way that most people can understand, but you probably have to have some musical knowledge to fully appreciate it. For those who don't, the pictures explain it pretty well. Also, some of this stuff was dangerous and I am not providing full instruction on how to do this safely, only showing what I did. Anyone trying to emulate what I am doing does so at their own risk to their physical well-being and to their property, I am only putting this up to provide information. Whenever you start a project make sure you know how to use every tool and the risks of every substance in order to keep safe.
Why did I do this? Well, in Western music we typically use only certain frequencies to make music. For example, the A above middle C has a frequency of 440 Hz, and if you double that you get the octave of that A, which has a frequency of 880 Hz. In between these two A notes we find other notes by dividing the space between the frequencies by 12 which gives us the 12 notes normally used in Western music in what is known as 12 tone equal temperament.
You can visualize this on the guitar by looking at how the frets literally divide the string to create different notes. I took the frets off of my guitar because I wanted to play the notes between other notes, but the frets made this difficult and forced me to try to bend to accomplish that. I was aiming for 24 tones (a type of microtonality), as if I had twice as many frets in the same amount of space. This got me thinking that I would be better off with the flexibility of having no frets so that is what I did. I am very happy with the sound I have achieved through this project and will hopefully provide some songs using my fretless guitar so people can hear some of the things it can do in the context of heavy metal.
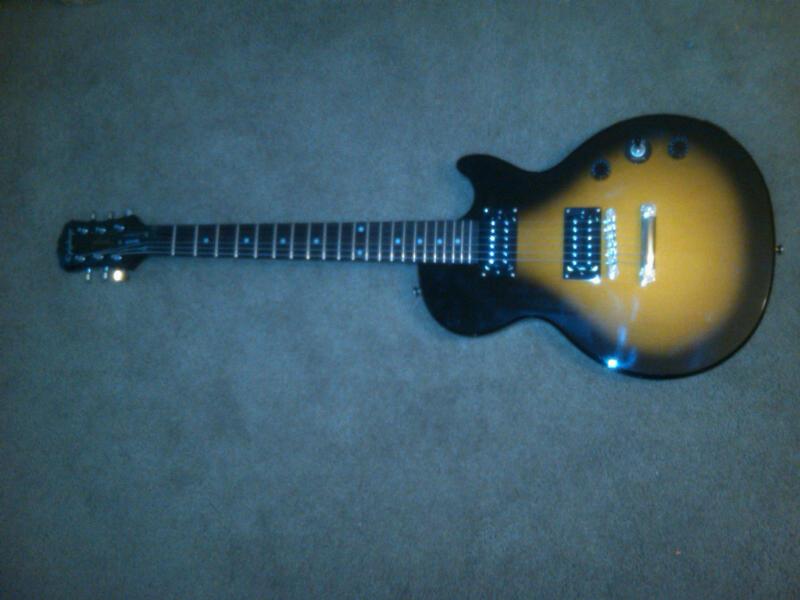
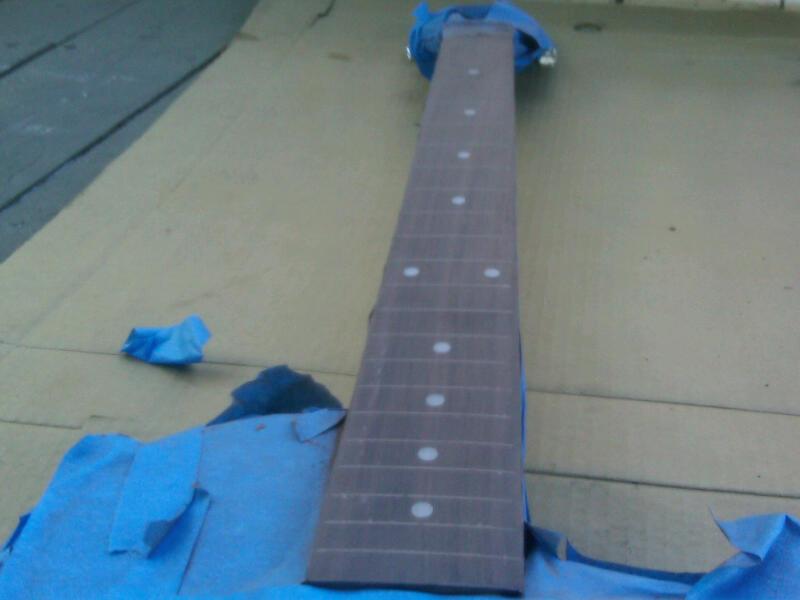
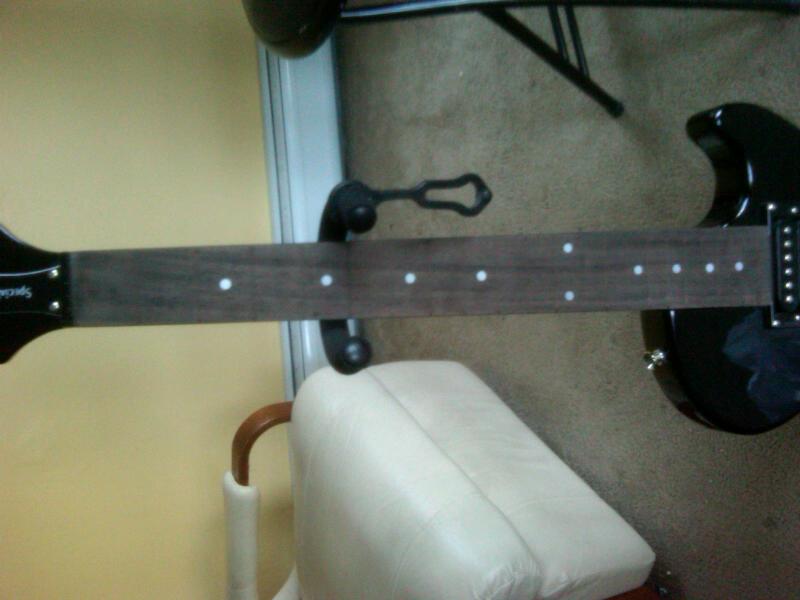
How did I do this?First I purchased a cheap used guitar with a serviceable neck. I wanted a guitar with humbuckers because I figured that would work better for metal. For those who do not know what that is, look at how the pickups (black rectangles on the body) have two rows of magnets (the silver dots). Without having frets I was very concerned with how the intonation would be, meaning notes might not be in the right place. To check this I played each string at its 12th fret and played the 12th fret harmonic to make sure they were the same note. I also looked down the length of the neck to make sure the frets were parallel with one another to ensure that the neck was not twisted. Lastly, I made sure the action wasn't too high because I figured that a fretless guitar would be good for legato technique and smooth slides. All of this was, of course, part of what you should normally look into when purchasing a guitar.
Next, I assembled some of the necessary tools for removing the frets. Before that I used my string cutter to remove the original strings, which as I will explain later, I would not be using. A guitar in standard tuning is typically under around 85lbs 38kg of tension. This means that it was important that I detuned each string before cutting them, otherwise I would have risked them snapping into my eye.
I put the guitar on pizza boxes to keep everything off of the carpet. You can also see that I covered some of the guitar with painter's tape to prevent scratches. Regular tape would be too sticky and leave unwanted residue. From left to right in the above picture you see my string cutting multi-tool, my fret pullers, some gloves I ended up not using, and above the gloves a soldering iron. I found several sellers online for the defretting tool but picked one of the cheaper offers that I found on eBay.
I then used the soldering iron to heat the the fret closest to the bridge. I had read online from several sources that this would help expand the fret to ease removal and help loosen any glue. These frets were not glued in and I felt that heating the frets did not really add much when I tried removing one without doing so. I kept heating each fret anyways, but it is important to not overdo it and risk burning the wood. I did so for about 20 seconds each. I would then use the defret tool, starting along each side and working from there toward the center, walking the fret out of its slot. I then placed the frets on a damp towel so they would not scorch anything. As I did this there was some minor chipping of the fretboard and you can see in the above picture how rough it looked immediately after.
Above: This angle shows how the chipping was relatively minor.
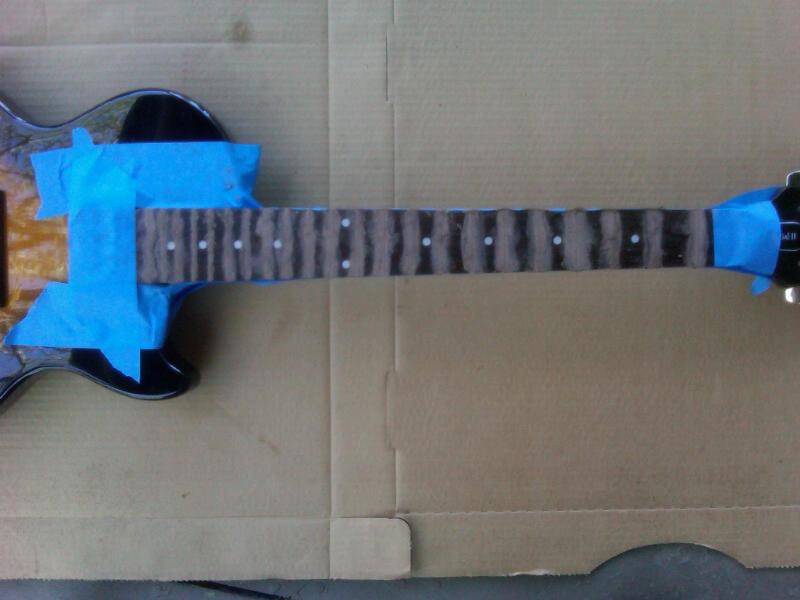
I then moved the project outside. At this point, I should have covered the entire guitar in tape to protect it as I was working with messy materials. Here you can see how I filled each of the gaps left by the fret with wood filler. I used a darker wood filler because I felt that a lighter color would clash with the orange from the sunburst pattern on the body. I also did not want the lines where the frets were to be invisible so that I could still use them as a visual reference of where notes used to be. This is why I did not use clear epoxy, which was also too viscous to work with easily. When applying the wood filler I put latex or some plastic type gloves on to keep the wood filler off of my fingers. I then pressed it into each gap.
To remove the excess I started sanding. I spent a lot of time sanding during this project. For those who have never sanded before, practice on some scrap wood first and remember that you go from low grit to high. Sand with the grain of the wood. If you start with too high a grit it will just take longer but if you start with too low it can leave scratches, so to reiterate, test first. I used a normal flat sanding block, but some people prefer radius blocks to give the neck a slight curve, these can be purchased from Stewmac.com.
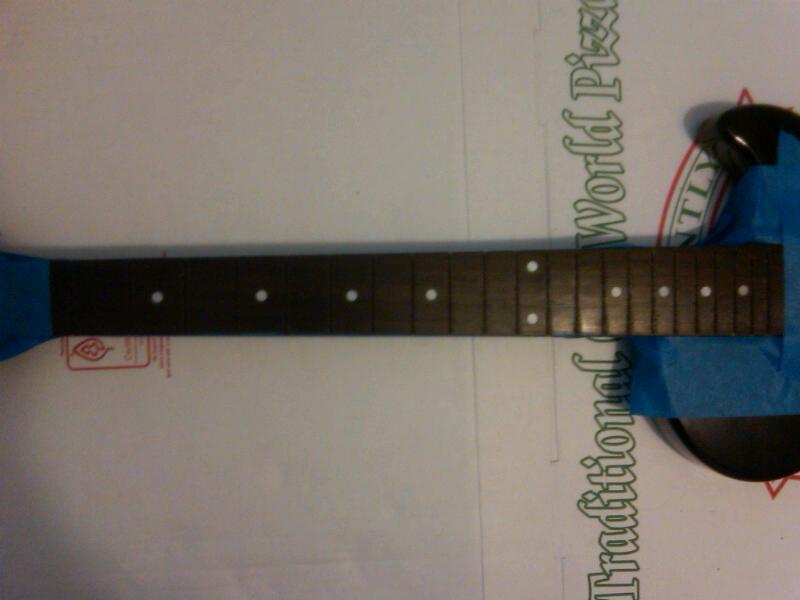
After sanding approximately forever, I brought the guitar inside to marvel at the flatness and smoothness. I ran my fingers up and down the fretboard to feel that I had not missed any spots. First, I had to remove the tape which was covered in the very nice smelling sawdust. That sawdust is the primary reason aside from protecting from scratches that you want to cover every inch of the guitar. I almost got sawdust into the pickup area before I realized this.
Here you can see the extent of the chipping. Anywhere that the wood filler is not perfectly straight is a place were it is filling in wood that I took off when removing the frets. It may be hard to see, but I assure you that I did not do a perfect job. I re-taped the guitar to prepare the neck for finishing. I was very careful to have an edge of tape straight across the fretboard so that I would not get any finish along the side of the neck.
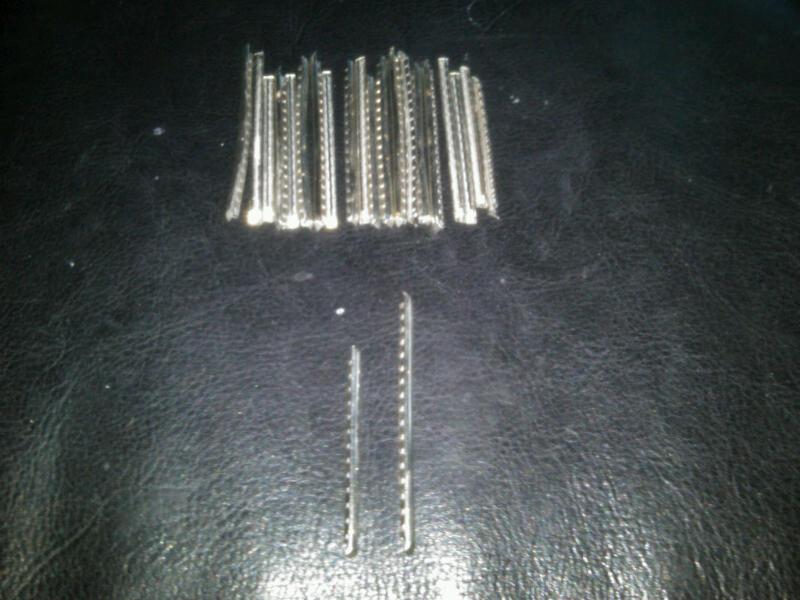
Due to humid and rainy weather, I had to wait before finishing the neck because it would not dry as quickly in those conditions. To pass the time I took a look at all of the frets I had removed. Above, you can see that I put the shortest fret right next to the longest. This is a good visual representation of something that is hard to see on the guitar, i.e. the neck is thinner by the nut and gets thicker by the bridge.
Before adding any finish I used some paint thinner to clean the wood and fully remove all of the sawdust. I purchased some kind of environmentally safe stuff that was "less" poisonous and also of a comparable price. Still, this entire part of the process was done in a well ventilated area - outside on a porch with a fan. I made sure it was not too windy of a day out so nothing would blow onto the guitar, but to be extra safe I also constructed a wall out of used pizza boxes around the guitar to cut down on wind. This is why I was eating so much pizza at the time. I normally eat healthy but I just had to eat delicious pizza for the sake of the guitar project. Apparently there are other ways to get cardboard though.
For the finish I used Minwax® Fast-Drying Polyurethane. Along with the paint thinner, I first tested the look of this on a piece of scrap wood. I used the clear semi-gloss and applied it with a bristle brush which I handled to make sure there were no loose hairs that would get stuck onto the neck. I used semi-gloss because I wanted some shine to the neck but not so much as to be distracting. Stain is not really necessary when you are finishing a wood with such natural dark beauty to it, as a fretboard should have, so I just relied on the polyurethane to protect the wood from the strings without adding any color. After the first coat the finish was a little bit uneven in some places where the wood was naturally more absorbent.
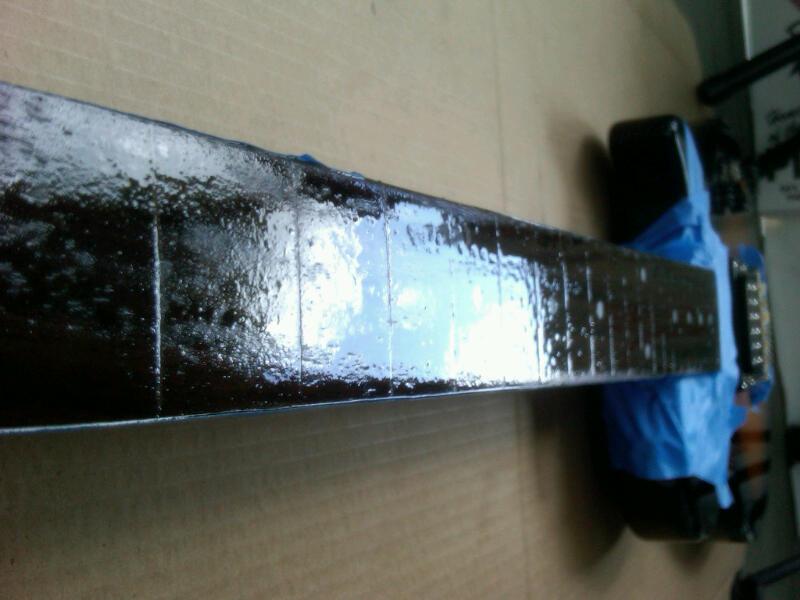
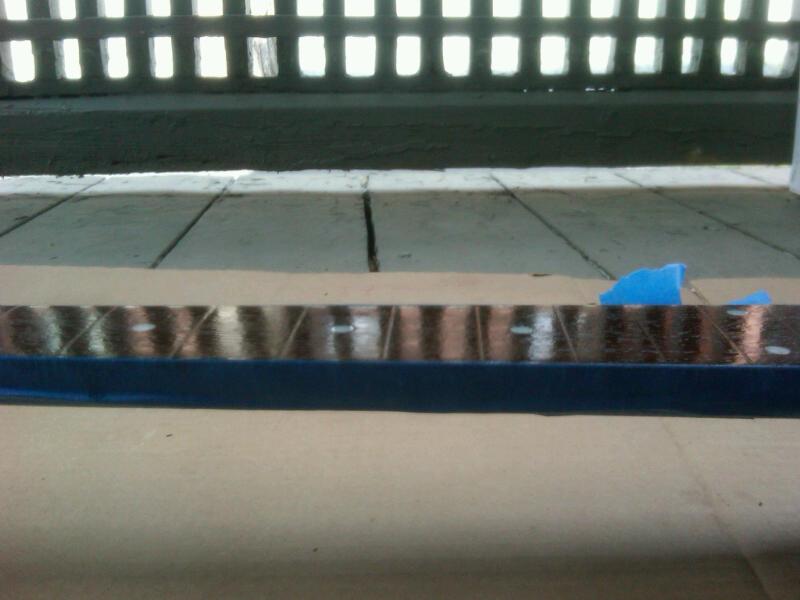
After adding a second application, the finish was beautiful. The above picture shows how reflective the neck was, you can see the railing on the deck and even the house next door. I was sure to allow the first coat to dry before adding the second. I also had to use some tweezers to remove a mayfly that decided to land on the neck and also some tiny piece of leaf. The mayfly even survived!
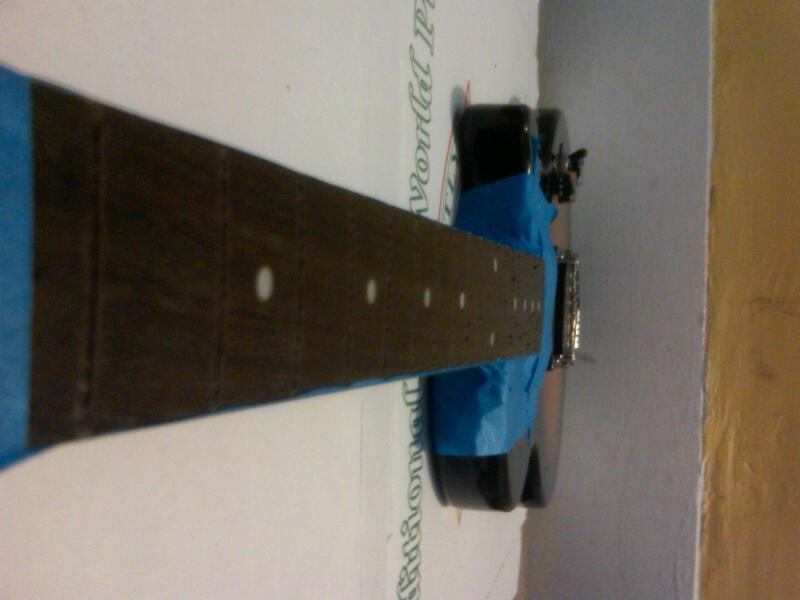
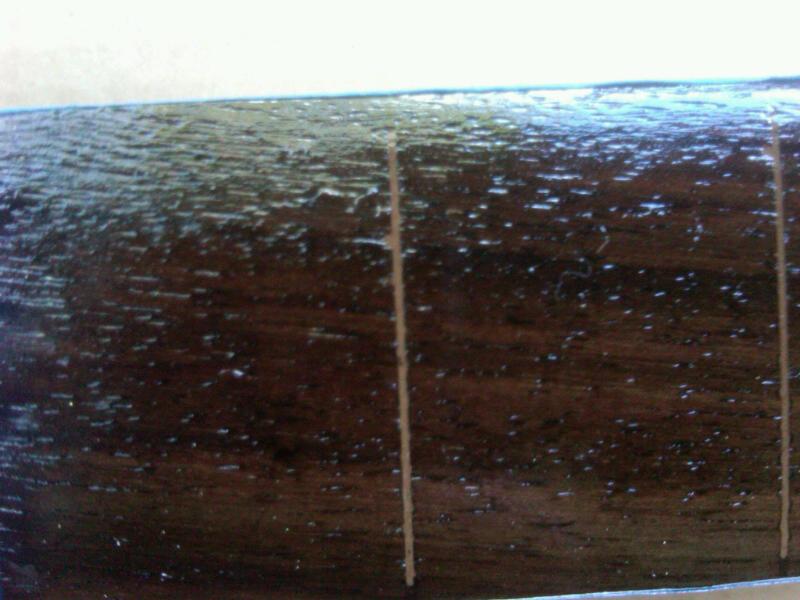
Here is a close up of the neck. The green and blue at the top of the picture is just reflected light from the sky and a nearby tree. Here you can see that the finish is pretty smooth and also how the wood filler is pretty damn straight but not 100% perfect because of small chips. The next step was to sand the finish with a very high grit sandpaper to smooth out the final product. After that point the neck was like touching a piece of wet ice it was so smooth.
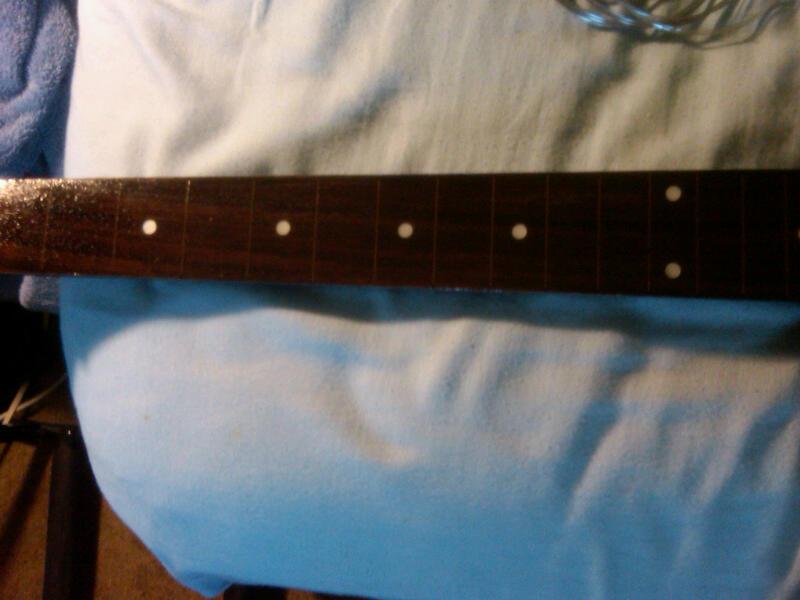
Here it is after the sanding. The last step was to add strings and play!
What strings did you use?What an astute question! Without frets, the string will vibrate directly against your fingers and the fretboard itself. This absorbs energy faster than when it vibrates against metal frets, which means you loose sustain (notes won't ring out as long). To protect the wood from the strings, I put on a set of flatwound strings. Flatwounds have some of the strings wrapped in a ribbon of metal where typical strings (roundwound) have some of the strings wrapped in round wire. For this reason, flatwounds are smoother and will cause less wear on the fretboard. They also have a jazzier tone, which is not terribly noticeable when playing with the distortion needed for extreme metal, although the slides are certainly smoother.
To help remedy the sustain problem inherent in the fretless I also used a heavier gauge string, 11s. (D'Addario ECG24 Chromes Flat Wound, Jazz Light, 11-50 to be specific.) Heavier gauge strings have more mass which helps them vibrate longer. To compensate for the greater mass of the strings I also downtuned the guitar to C, which is fine for extreme metal.
How does it sound?Pretty damn awesome, hopefully I will get some recordings up in the end of July. I really enjoy the end result, the sustain problem is not really that noticeable, and the fretless guitar is incredibly versatile. Slides are beautiful and playing the right note is much easier than I thought it would be. I love being able to play the notes between the usual notes with ease. The downsides are pretty minimal:
First, since I never lowered the nut, when I play notes close to the nut the strings bend at a drastic angle to the nut. Ergo, I never play notes before the first fret because I worry about damaging the string. Second, playing chords is really damn hard so far. This is because I can no longer rely on the frets, if I play a power chords in C standard tuning, two of my fingers would have to be perfectly vertical. I normally play power chords with three fingers, but with the fretless I have to barre the 5th and the octave using my ring finger. So, have to change how I play most chords but intervals are still easy enough. Another thing that makes chords difficult is how the tips of my fingers create more sustain than the rest of the finger does. So if I was barring a suspended fourth, the higher root and 4th will sound louder than the lower pair. Still, I love it.